I attempted my first batch of sauerkraut 12 years ago. (Notice I use the word attempted.) The results were not exactly what I was hoping for.
Having read books like Nourishing Traditions, I assumed that fermenting vegetables at home was pretty easy. Essentially veggies and salt (maybe some water) left in a jar for a period of time would result in an amazing probiotic-rich and flavorful treat.
But somehow, I screwed up.
A scary layer of mold developed on top after about a week and I had to throw the whole batch away. I cringe at the thought of wasting food (and effort in the kitchen), so I was pretty frustrated. It wasn’t until years later that I got the urge to make fermented vegetables again – this time armed with a little more know-how from studying Food Microbiology in college.
Hindsight is always 20:20.
I realize now where my early ferments went wrong and my mistakes were embarrassingly simple.
There are just a few rules to keep in mind so you have an edible product – not a science experiment – on your hands. I detail the most important ones below.
I hate to sound like everyone else who’s on the fermented food bandwagon, but really, honestly, fermenting vegetables is very simple. You’ll see in my recipe for fermented carrots with ginger and jalapeno below.
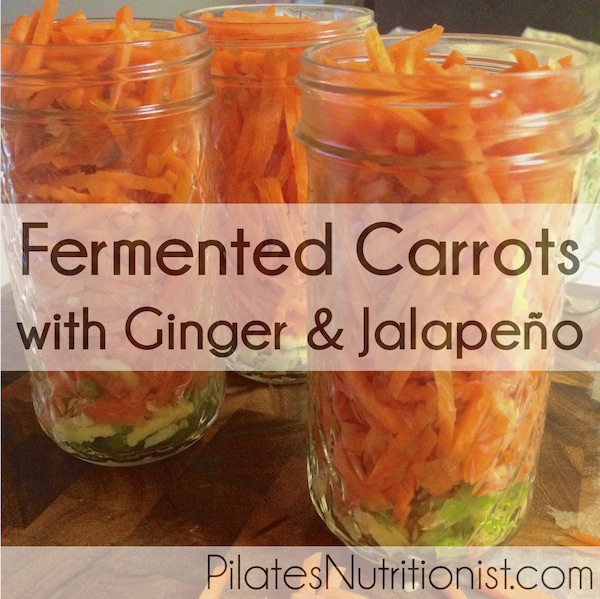
Fermented Carrots with Ginger and Jalapeno
- 3-5 organic carrots, peeled, sliced thinly (see notes)
- 1-2 fresh jalapeno peppers, sliced thinly (If you don’t like spicy foods, remove seeds/ribs or omit entirely)
- 3 Tbsp freshly grated ginger
- 2 ¼ teaspoons salt (¾ teaspoon per jar)
- Filtered water to cover
Instructions
-
Start with very clean jars. I typically run them through the dishwasher beforehand to ensure no pathogenic bacteria are hiding out.
-
Place a thin layer of ginger and jalapenos in the bottom of the jar. They should fill about ¼-? of the jar.
-
Follow with carrots. Pack tightly to minimize airspace. The carrots should come up almost to the top of the jar. They will shrink down during the fermentation process.
-
Add ¾ teaspoon salt per jar.
-
Cover with water. The water should rise to about ¼ inch from the top of the jar.
-
Place the lids on the jars, but do not seal. During fermentation, air bubbles will be released and need an escape route, otherwise you’ll have an explosion on your hands.
-
Leave in a cool, dark place (I set them out of direct sunlight on the countertop in my kitchen, so I’m reminded to check on them each day.) See fermentation instructions below.
Fermentation Instructions
Day 1:
-
After 24 hours, check the jars. Open the lid and use a clean spoon to push the carrots below the surface of the water. There will likely be bubbles at the top. That means the probiotics are getting to work! Place the lid back on the jar (do not seal) and wait another day.
Day 2:
-
Check the jars. Open the lid and use a clean spoon to push the carrots below the surface of the water. You’ll be amazed how much they have shrunk! There should be even more bubbles today. You can sample some carrots and see how they taste. Usually they’ll be a bit salty and slightly sour. If you like the taste and texture, you can seal the lid and place in the fridge for long term storage. If you want a more pickle-like flavor, let them sit out for another day.
Day 3:
-
Check the jars. Again, open the lid and use a clean spoon to push the carrots below the surface of the water. The liquid will be cloudy and bubbly. Taste the carrots. If they are pickled to your liking, seal the lid and place in the fridge for long term storage. If you want a more acidic flavor, let them sit out for another day or two.
Recipe Notes
Once in the fridge, the fermentation will slow, but the bacteria will remain alive. I personally like the flavor from a 3-day fermentation period.
FERMENTATION TIPS FOR SUCCESS:
This recipe is fairly foolproof. As with any ferment, always start with an exceedingly clean kitchen, clean hands, and clean kitchen tools.
As long as you use the same size jar that I did and pack it tightly with vegetables, the salt-to-vegetable ratio is consistent (and safely promotes the growth of good bacteria, not the scary mold!). If using smaller or larger jars, adjust the salt based on the amount of carrots you're using.
Checking the jars each day and pushing the carrots below the surface keeps the fermentation anaerobic, which again, promotes the growth of beneficial bacteria and reduces the risk of mold developing.
If, for any reason, you think your ferment has gone wrong, throw it out! You can always make a single jar for your first batch to minimize food waste. If it does ferment as planned, once you’re done enjoying your carrots, use the leftover liquid as the starter culture for your next batch. That will “inoculate” it with good bacteria and further increases your chances of success!
*NOTE: I use this mandolin set on the “shoestring fry” setting, but you can use a knife and cut to any shape/size you prefer.
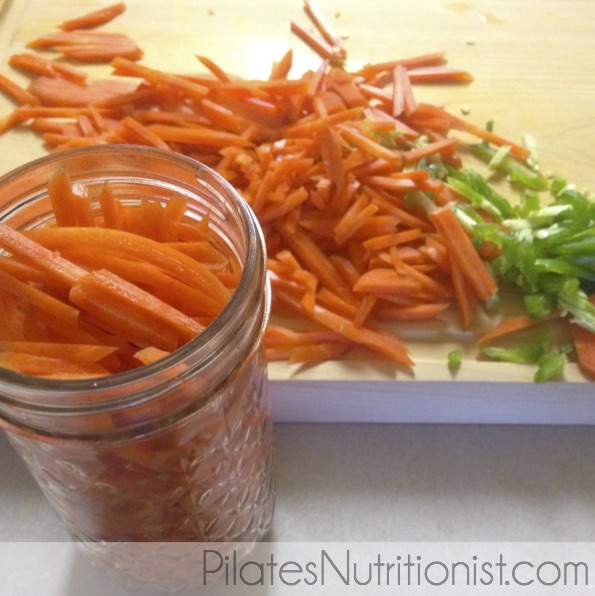
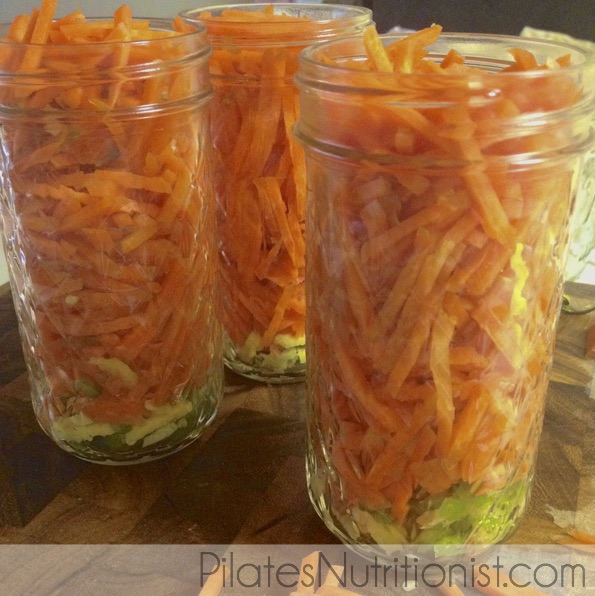
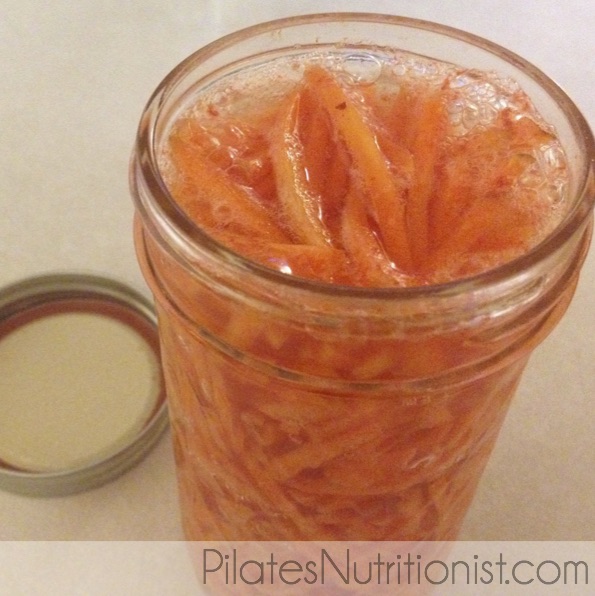
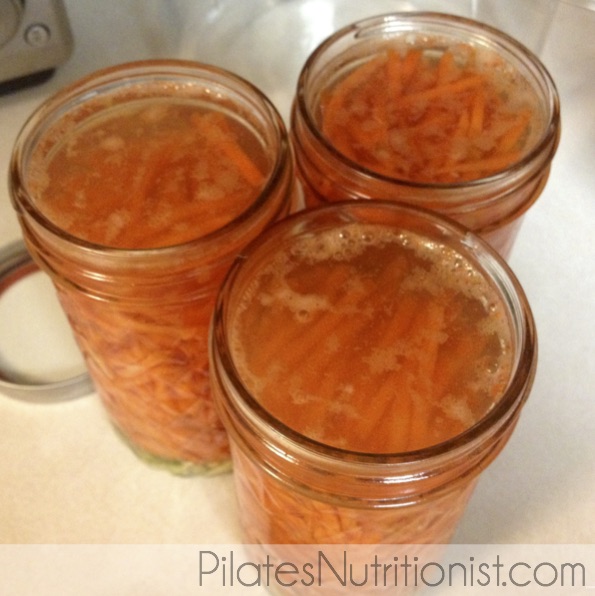
Fermented Carrots with Ginger and Jalapeno are a healthy accompaniment to soups, stews, or cooked meat. They are an excellent source of probiotics and enzymes that assist in digestion.
Cool factoid: Fermented veggies & foods sometimes contain more probiotics than expensive probiotic supplements. Read more about that here.
If you generally have trouble digesting raw vegetables, fermented veggies are a great option, since the fibers have been partially broken down during fermentation.
This version is somewhat similar to zanahorias en escabeche, a pickled condiment used in Mexican cooking that is often served with street tacos (although, it uses onion in place of ginger and usually contains other spices, like oregano).
Now I’d love to hear from you:
- Have you tried making fermented vegetables at home? How did it turn out?
- Anyone else have some science experiments on their hands?
Until next week,
Lily
PS – If you’ve been wanting to fix your digestion (or if you’re trying to conceive or are currently pregnant and want to ensure the health of your baby), check out the Work With Me page for more about my customized nutrition programs.
Investing in your health always has a good ROI, so if you’re ready to heal with real food, do reach out to me.








Fantastic post, Lily! I love how you break down the science-y stuff here with such a great ferment for beginners. Sauerkraut is always a little touchy so I’ve turned to using Caldwell’s starter culture (essentially just lactobacillus culture) for fussy ferments like cabbage. I make carrots with ginger but haven’t tried jalapeno yet so that’s what’s going in my next batch of carrots. Thanks for the great info – can’t wait to share it with my readers.
Good call on the commercial starter culture, Jessica. That makes the whole process of fermenting much less scary for the beginner.
I’ve since successfully made sauerkraut with just cabbage and salt. The challenge is getting the right ratio of salt to cabbage and keeping the cabbage submerged (anaerobic). Now that I have one batch though, I have the starter culture for future batches!
Lily, if you use the water from the first batch to make the second batch, how much water do you use, and do you need to add additional salt?
Just enough liquid to come almost to the top of the jar (whether that’s water, liquid from the first batch, or a combo of the two). I’d add the same amount of salt.
Thanx, Lily. One more question. Bubbie’s makes fermented pickles. Can I use the water from that to ferment my carrots?
I’d expect that to work, since that brand is naturally fermented + contains live cultures. They will taste like Bubbies pickles though!
Lily, I just made my first batch. After 3 days, it didn’t seem fermented enough, so I left it for 5 days. And now it’s got a white film on top. Is that mold? I’m scared to eat it in case it’s mold.
Usually a thin white film is a type of yeast (kahn yeast) – not mold. Read this for more info on troubleshooting ferments.
Wow — what a great resource. Thank you! Question (sorry, another one) — some places say it’s important to have a tight seal, but your instructions specifically say not to seal it. What’s up with that?
I know, it gets complicated.
If you have an airlock set up (like what’s used when brewing beer), the gases released from fermentation escapes through the airlock, but oxygen stays out. It keeps the ferment anaerobic.
If you do not have an airlock, you need to leave the lid ajar to allow those gases to escape. The challenge is keeping the vegetables submerged, so the actual vegetables are not exposed to oxygen. Once fermentation is complete, tightly seal the jar for long term storage.
Love this post, you lay it out so simply, but are thorough. I am currently making my own kombucha which has been a fun science experiment! It is definitely a process and I completely agree with making sure everything is super clean. I grew my own SCOBY and have had a few batches so far, but I am trying to perfect the flavor. Have you ever tried making Kombucha, and if so do you have any tips?
Yes, I’ve been making my own kombucha for several years (check out the photo of my crazy SCOBY in this post) and I find a secondary ferment with some sort of flavor makes it pretty tasty. My top 4 are: grapefruit slices with the rind, ginger, blueberry puree, and a splash of apple cider. Keep experimenting!
Hi Lily, Fantastic post. Would boiled water be equivalent to filter water?
I’m going to try this recipe for the first time. I’ve never fermented anything before but I was wondering instead of three small jars can I use a large crock for the same amount? Is there a problem with there being too much air?